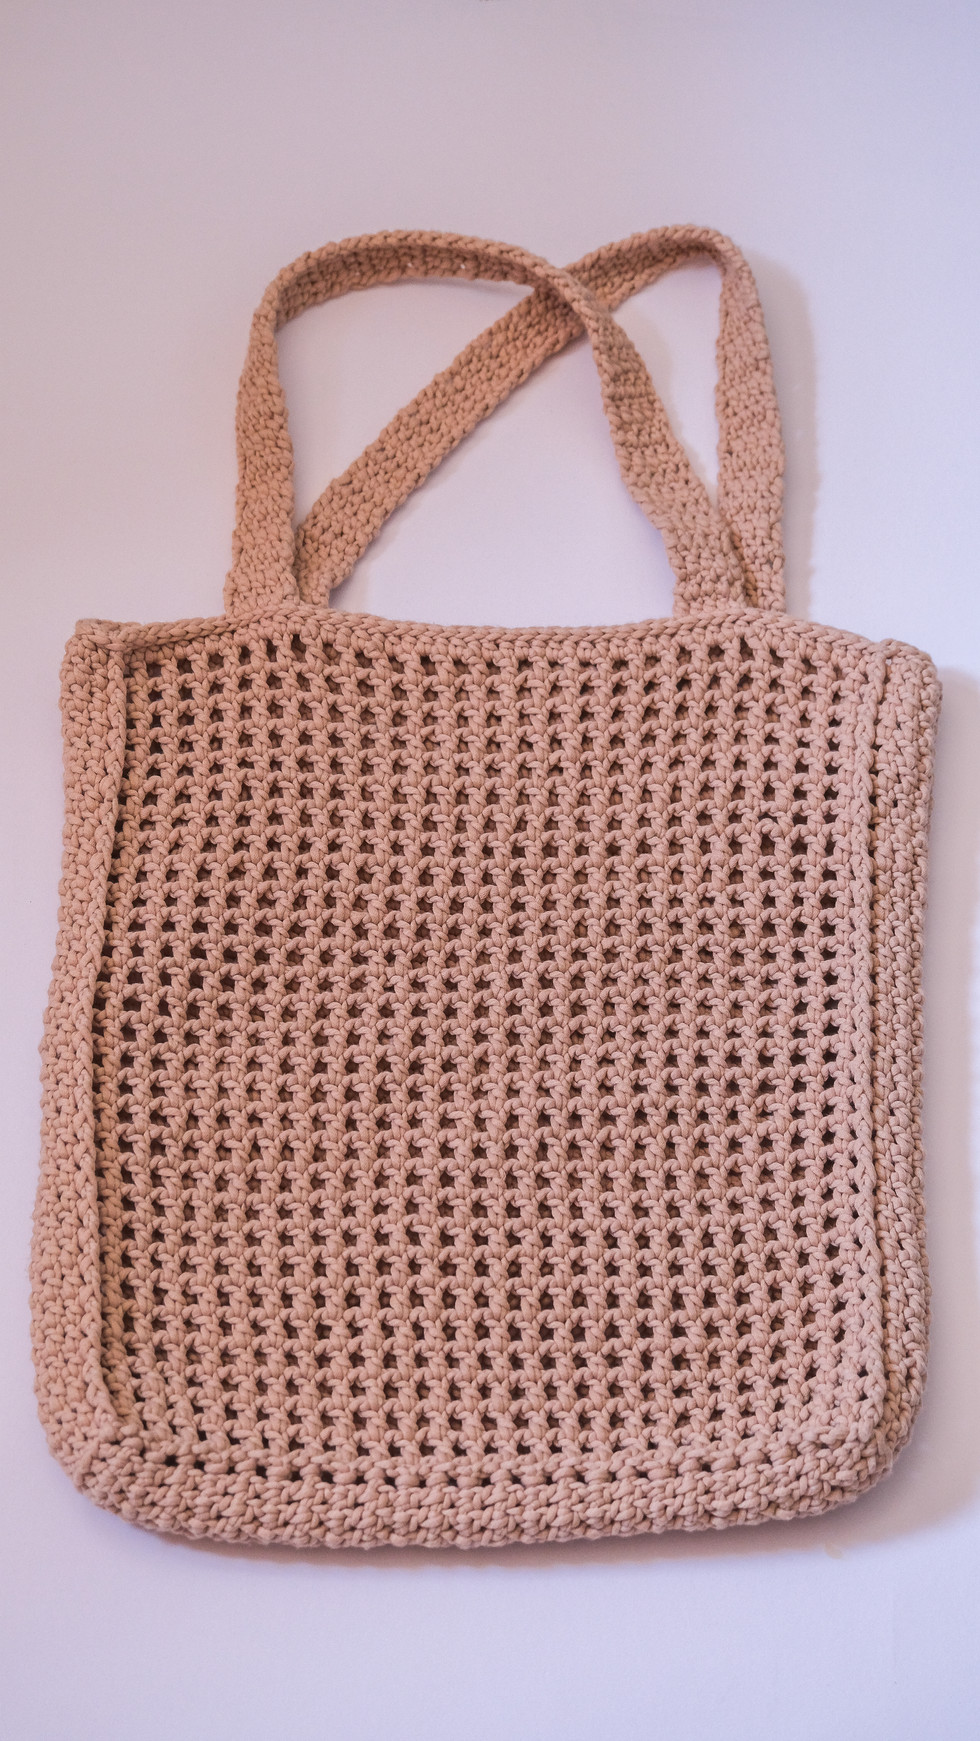
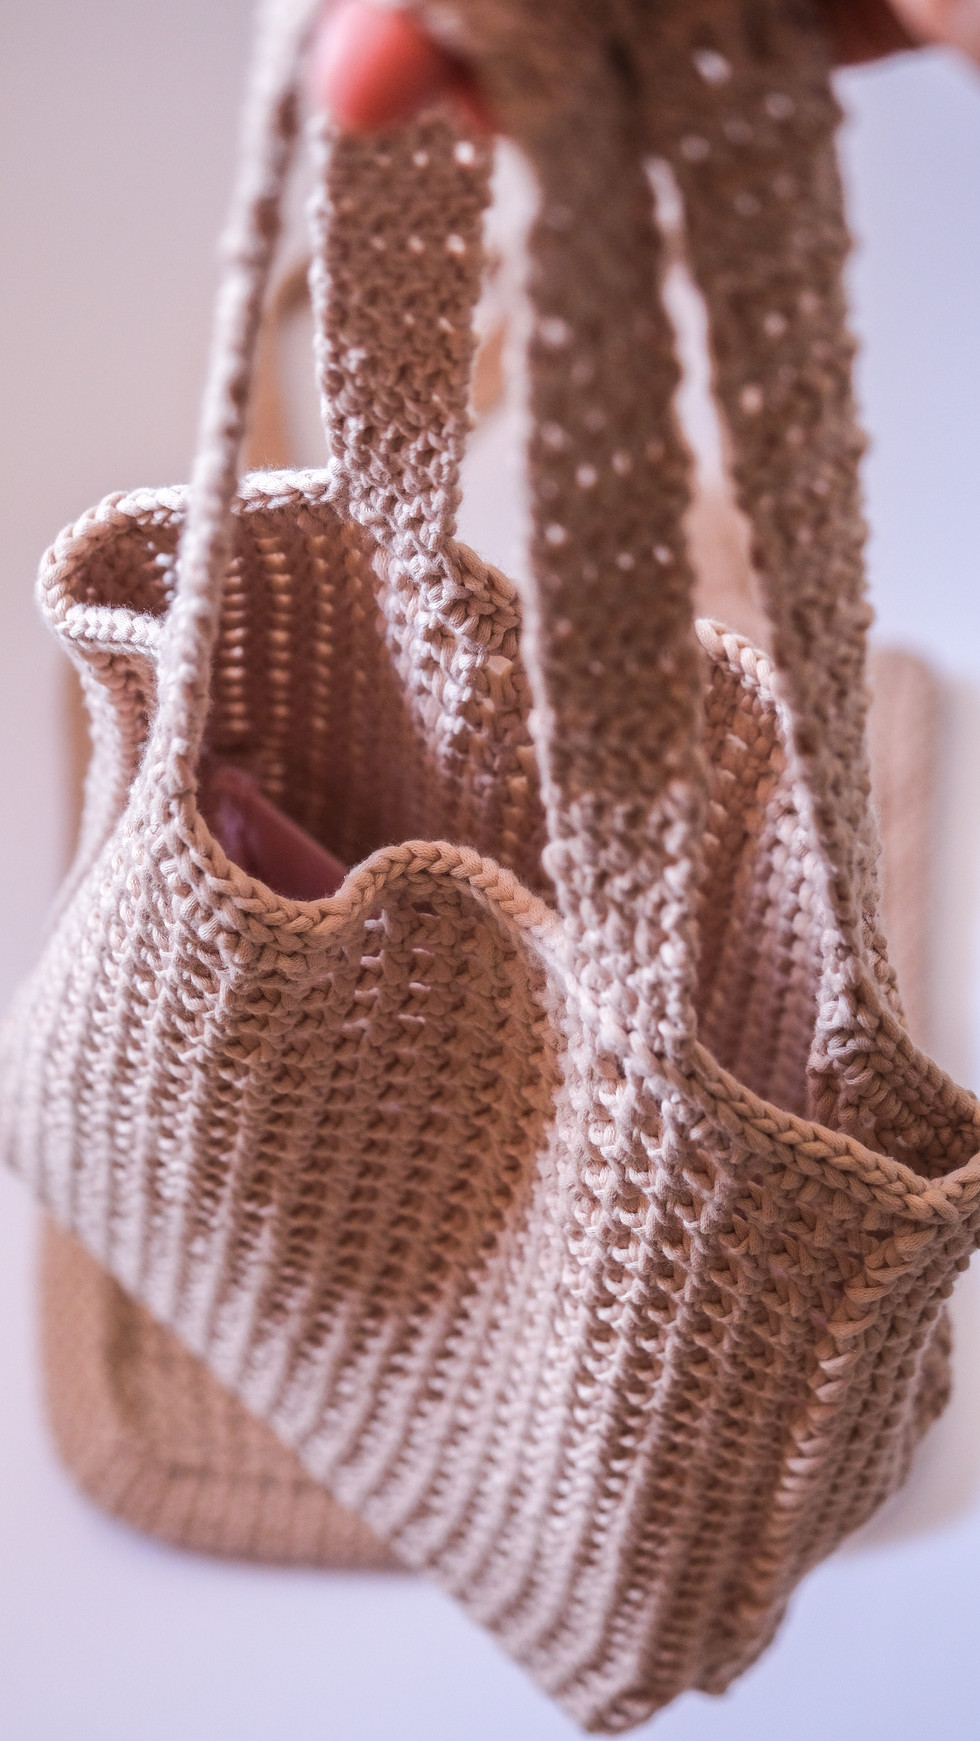
CROCHET PATTERN - classic tote bag
- Magdalena Okroj
- Aug 26, 2022
- 3 min read
Updated: Mar 28

This summer, I had a strong desire to make a bag/tote that I would use and that would fit my needs. I wanted a minimal look combined with a simple way to achieve it.
This tote design has been around for quite a few years. I fell in love with it, but as you know, I didn't want to use any existing pattern. So, I searched for inspiration, and after several tries, I finally created it. The nearly perfect version of a functional, stylish bag!
The first version (above) was made with James C. Brett tubular polyester yarn, which is now discontinued. I loved the colour and softness of it. The finished bag had a bit of a stretch to it. It was ok to carry lighter items, but if I wanted it to be sturdier it had to be made of cotton. It worked perfectly!
It was fun to break down this design to show you how it's done. I learned a lot and I hope you will too.
There are a few completely new techniques of working trebles involved here. I will reveal those on IG reels. It is the secret sauce that creates that polished finish. Hope you'll love it!
Overall, it is an easy, relaxing, and satisfying pattern to crochet.
Beginning at the base and ending with the handles, this project can be completed in two to three evenings.
All sections have been presented separately, so it's clear to follow. Let's get to it!

Materials
Hooks: 4mm, 3.5mm
Tapestry needle and scissors
Yarn:
3 x Lily Sugar’n Cream (here in Meadow)
Blend: 100% cotton
Weight: Aran; 86m/70.9g
Alternatively:
Rico Creative Cotton Aran
Paintbox Yarn Cotton Aran
Rico Bandchen tape
3 x James C. Brett Noodles Chunky 100g/170m – discontinued

Stitches
Ch - chain
Tr – treble crochet
St/sts – stitch/stitches
Sl st – slip stitch
Fp – front post stitch
Fptr – front post treble crochet
Bp sl st - back post slip stitch
Bptr - back post treble crochet
PATTERN
Bottom
Using 4mm hook ch9.
Tr in 3rd st from the hook (2ch doesn’t count as a st).
Tr6 to the end. (7sts)
Ch2 (counts as a st from now on), turn, tr6.
Continue to build 25 rows of 7tr in each.
It should be approximately 30cm long.
Turn for the body
First stitch with wraps (wrapped st): wrap yarn around the base of the chain on the hook anti-clockwise, ch1, wrap again, ch2 (ch1 + ch1 for the gap)
Turn for the body: you’ll be working perpendicular to the base.
R1: Wrapped st, *bp tr1, ch1* 24 times, bptr, bptr5, bptr, ch1, *bptr1, ch1* 24 times, bptr, bptr5, bp sl st in the ch space.
Body
First stitch of every round is always wrapped as above!
R2: Wrapped st, *tr1, ch1* 24 times, fptr, tr5, fptr, ch1, *tr1, ch1* 24 times, fptr, tr5, bp sl st in the ch space.
R3 -30: Repeat R2.
Change to 3.5mm crochet hook.
R31: Wrapped stitch, *tr1 in ch space, tr1 in post* 23 times, tr1 in ch space, fptr, tr5, fptr, *tr1 in ch space, tr1 in post* 23 times, tr1 in ch space, fptr, tr5, bp sl st.
R32: sl st and al st around in between trebles of the previous round.
Cut yarn, and weave in the end.
Handles
With a 3.5mm crochet hook, join the yarn above the middle of the fifth ch gap.
R1: Ch2, tr4, ch2 (counts as a tr), turn.
R2-41: tr4, ch2, turn.
Cut the yarn, and sew it in place, symmetrically.
Repeat for the second handle.
Weave in the ends.


Comments